If you’re getting to grips with developing solutions on the Power Platform, you’ve probably got a handy bit of experience with Microsoft 365 products such as SharePoint. You might have even used model-driven apps or Dynamics 365! These products all include features whereby we can share links directly to records or areas within those platforms… which is great! But… what if we want to do this when it comes to the Canvas Apps we’ve developed? How can we get directly to a screen in our app with a link, or perhaps even a record?
In this post, I’m going to get you started with deep linking in Canvas Apps! By the time you’ve finished reading this post, you’ll hopefully be able to develop simple tricks in your app that allow you to link specific areas of your app for enhanced user experience. An example of this being handy, or a use case here, could be where you send an email notification asking someone to complete a review or an approval or something which they have to do via your app UI, but you want them to be able to click a link on that notification that takes them directly to the right screen and/or record that they need to complete something on! We’re going to learn how to do this using deep linking and parameters in Canvas Apps and Power Fx.
Background

Employee Onboarding SharePoint List
For the purposes of this demonstration and post, I’m simply going to use some templates provided by Microsoft which I’ll then extend a little to add in this functionality. I’m going to create a new SharePoint list to store my applications data. In this case, I’m using the ‘Employee onboarding’ template from SharePoint. Then I’ll generate the 3 page app so I’ve got a Canvas app to play around with!
Understanding the syntax
So, first lets take a look at the syntax for our deep link to better understand the changes we might need to make in our app to pass data through and see actions take place based on conditions.
https://web.powerapps.com/apps/{AppID}?query
In the above syntax the following parts will be replaced:
AppID – The ID of your application which you can find by going to your app in Power Apps and rather than opening it, click the ellipses next to it, select details and copy the App ID.
Query – This allows us to supply the data to our application to deep link to. We do need to do some work in our application still for it to receive the data and understand how to handle it.
Making some app changes
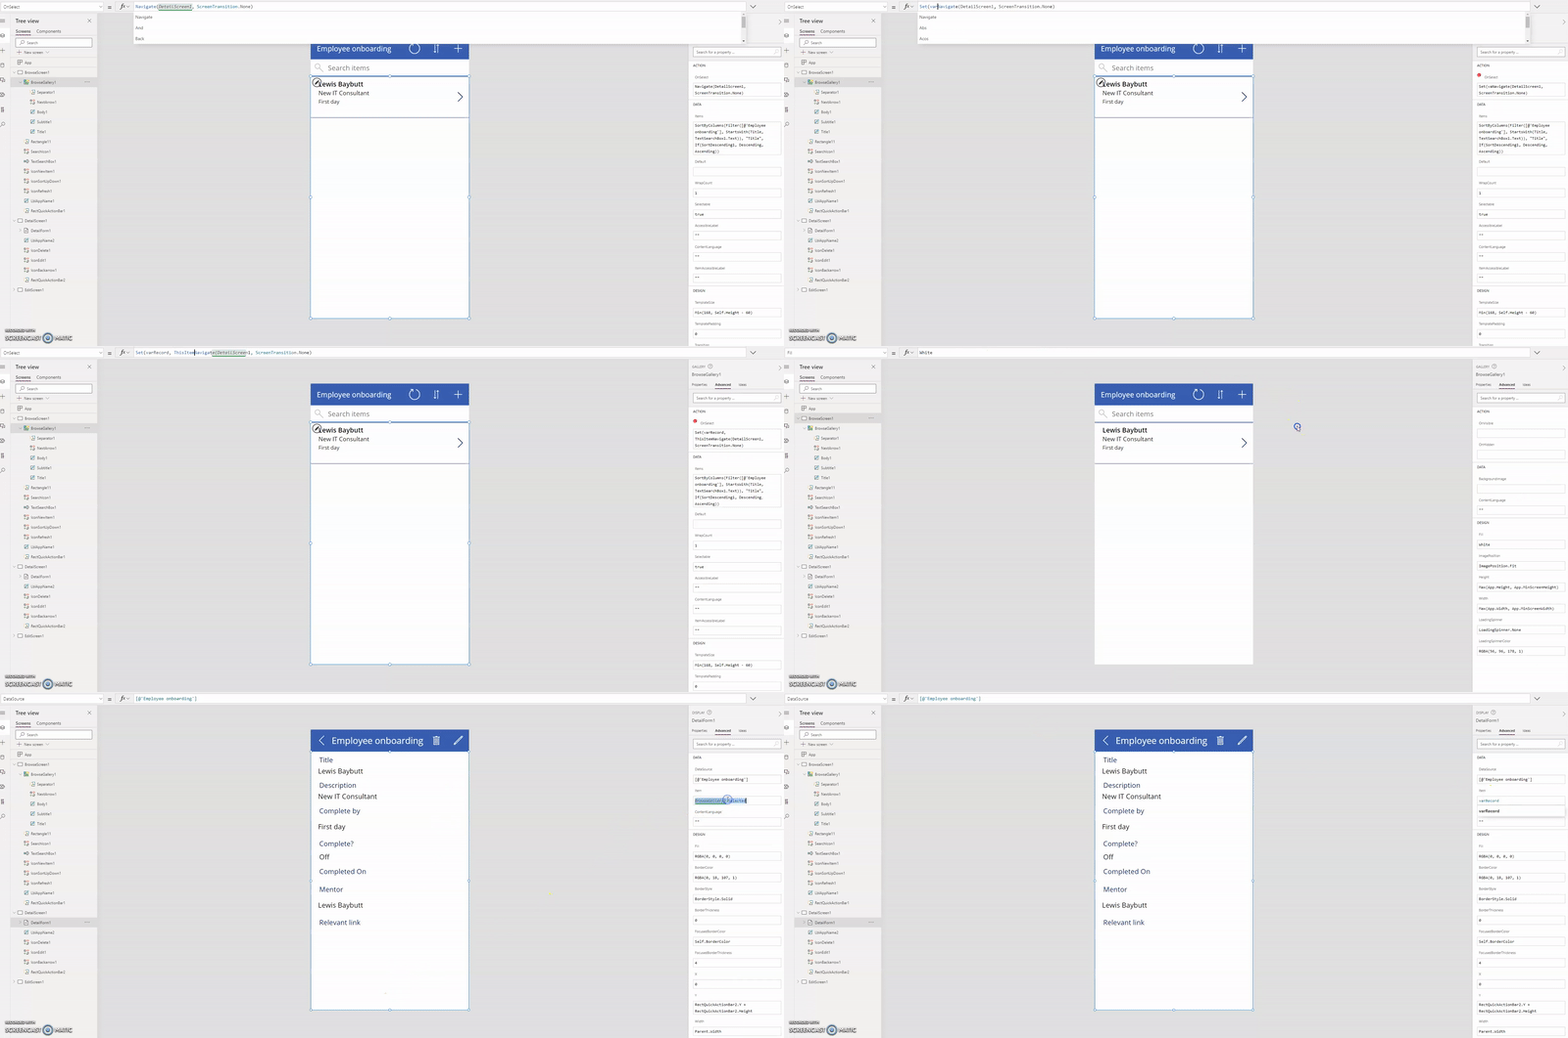
So first, before we actually start to right some code in our OnStart property to handle a deep link, we need to make some changes to how we’re viewing the data we’ve selected by going through our app. By default, the 3 screen app will just use the .Selected function against a gallery. So, our detail and edit forms, both use the Item ‘BrowseGallery1.Selected’ by default. This won’t work with our deep links, as we need to be able to reference a variable here.
So, if we go back to our BrowseScreen1, lets select our gallery and navigate to the ‘OnStart’ property. Then we need to use the following syntax to also set a context variable whilst navigating to our form:
Navigate(DetailScreen1, None, {recordItem:ThisItem})
Then if we go to both of our forms, we need to set the item property to recordItem. That’s all the changes for our gallery and form… now we’ll work on setting up our deep link within our application.

OnStart
In our OnStart property, we’re going to want to set two variables. One for our app ID and one for our record ID.
Set(appId, "GUID"); If(Not(IsBlank(Param("recordId"))),Set(varRecord,Param("recordId")));
Here we’re saying, always set our appID with the value passed through the GUID parameter in our URL and then we’re saying that if there is a parameter with a value passed called recordId, then we will a variable called varRecord with the value of this parameter.
StartScreen
This property will determine the first screen our app navigates to on launching. So in this property we need to write an IF statement that says if we have a value for our “recordId” parameter, then go to our detail screen to view the record, and if not just go to our browse screen as normal for if we were to just launch our app using a normal link.
If(Not(IsBlank(Param("recordId"))),DetailScreen1,BrowseScreen1)
Updating our context variable
So now let’s say we’ve followed a deep link, we’ve set our global variable with the value of our parameter, and we’ve also navigated to the correct start screen based on us having a value passed in our recordId parameter. Now we’re almost there, but our form still doesn’t know what record to look at… but why?
If we go a few steps back, you’ll remember we set our form’s item using a context variable. We could potentially look at just referencing the global variable we set in our OnStart property here, but we can’t do that because the Item property doesn’t just expect an Id value, it wants a lookup of the entire record.
So! In our OnVisible property of our form screens we need to set our context variable that our form can reference using the following syntax:
If(Not(IsBlank(varRecord)), UpdateContext({recordItem:LookUp('Employee onboarding', Id = varRecord)}))
Now we’ve updated the context variable our form will look at, so our form has the record Id we’re trying to pass through our URL!
Constructing our deep link URL
So now that our application is set up so that it understands what to do if it receives a parameter called recordId with its value being one of our SharePoint item ID’s, we simply need to create our link and test it out!
For this, we will use the following syntax again:
https://web.powerapps.com/apps/[app Id here]?[query here]
For the above URL we will replace the following strings with these values:
[app Id here] = our Canvas App ID
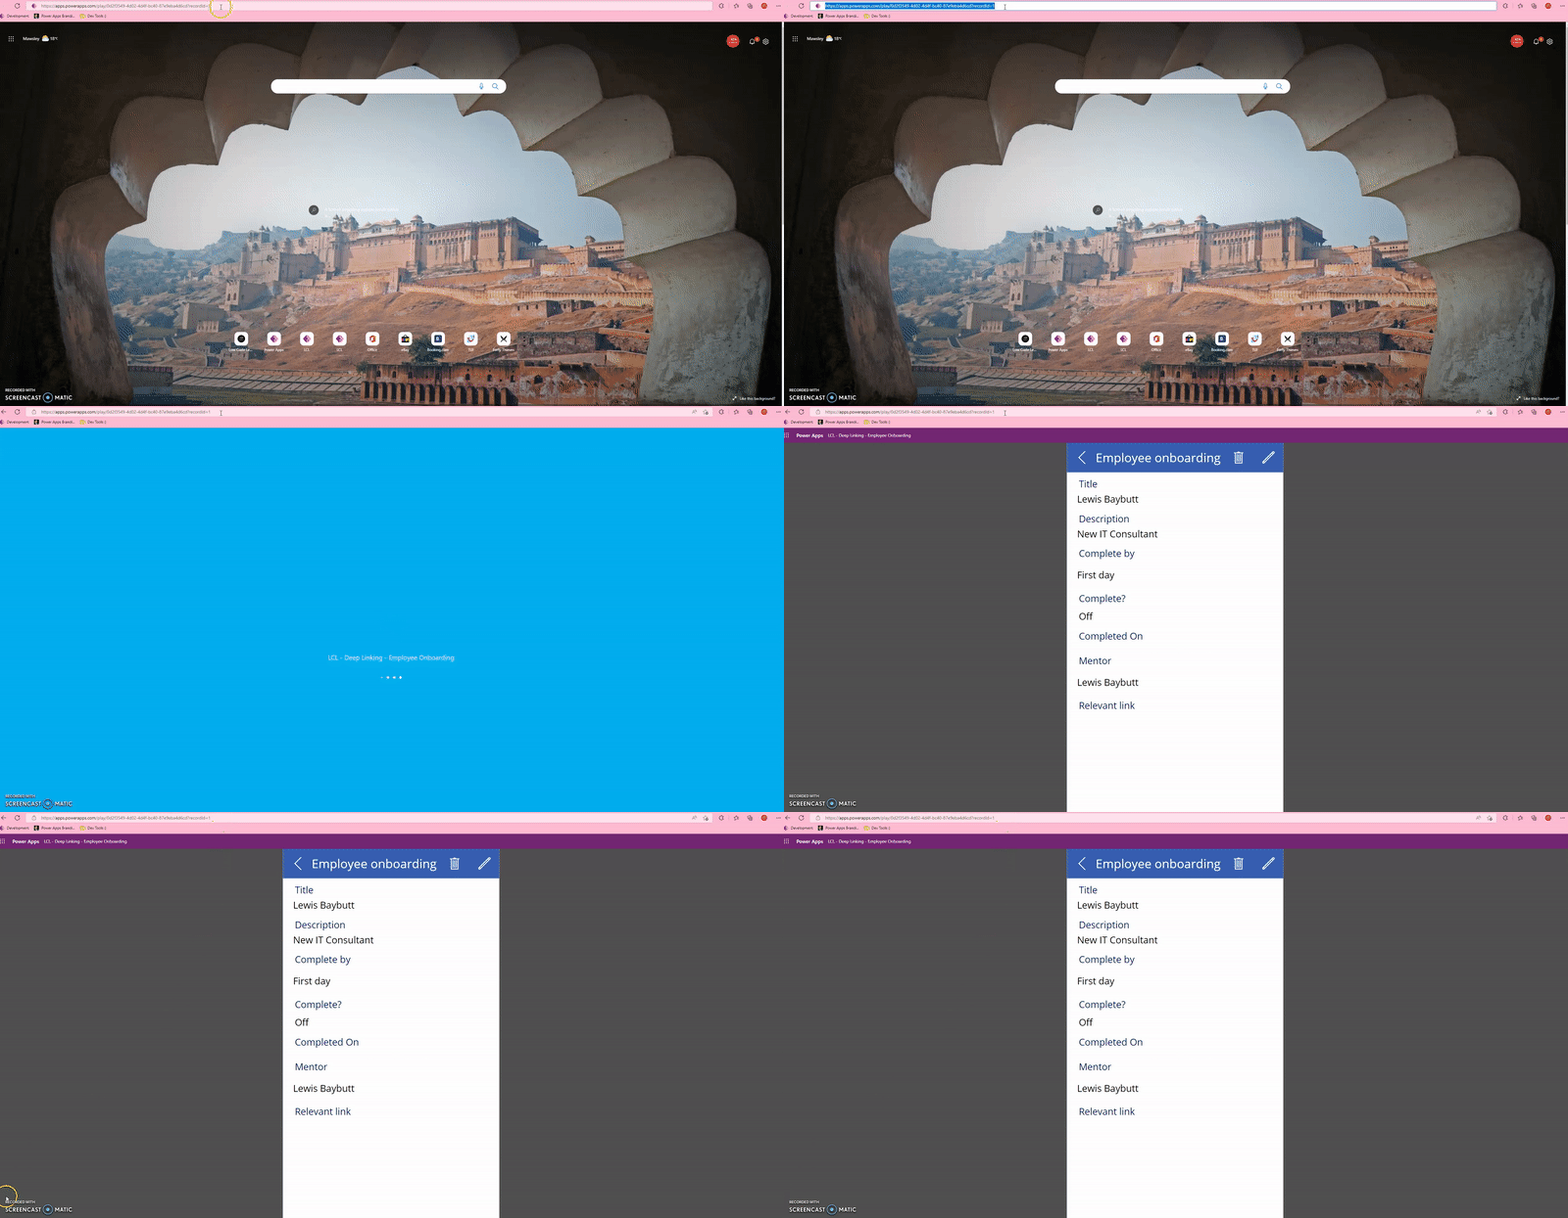
[query here] = the query for our record i.e. “?recordId=1”
Note that the example above is using a SharePoint item record, if we were using dataverse our GUID for a record would look a lot longer.
Let’s see it in action
So now we’ve built our deep link and configured our app to work with it, lets see what happens when we go to our URL!

Making it useful!
So there are two simple ways we can utilise this awesome trick! First we could create a link in Power Apps and send that to someone, or we could use Dynamic Content in Power Automate from our SharePoint list to send someone the link!
If you want to use Power Apps to generate the link, you will need this syntax as part of wider syntax depending on what you want to use.
"https://web.powerapps.com/apps/[your app Id]?recordId=" & recordItem.ID
The above syntax will build our link for us, and will reference our record ID from our set context variable. Remember to use the context variable and not your global variable. We’re only setting our global variable through using a deep link URL. Not through navigating through our application!
You could put this syntax inside the syntax to use the Office365Outlook connector, and send your link in an email to someone, or you could simply use a Launch() which would only reopen the same record, but you’d be able to copy the link for your use!
Let me know in the comments how you decide to utilise this trick!
I hope this post helped 🙂

