In today’s post we’ll take another look at the awesome thing that is AI Builder in Power Platform! I’ll be going through how you can create and train a document processing model to pull field values out of a document that the model will then be able to process!
Where do we find AI Builder?
So, the first thing we’ll want to do is take a look at make.powerapps.com, to find AI models!
In Power Apps, select more in the left hand navigation and then select AI models.
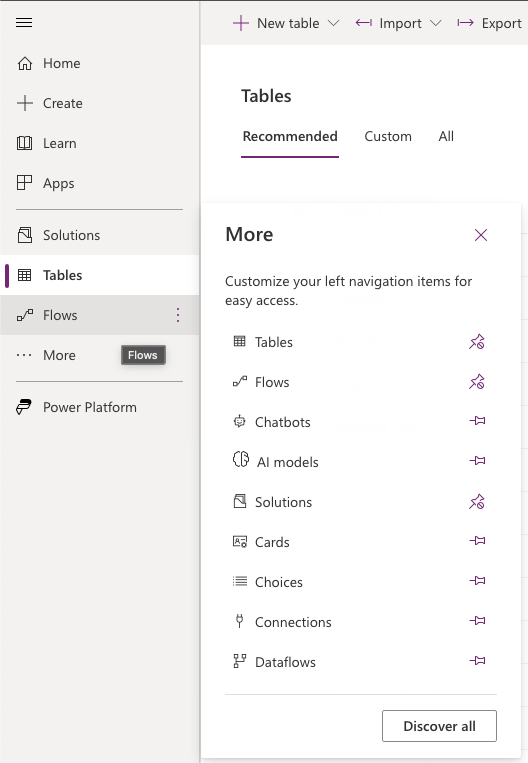
From there we can start to create AI models to use in our Power Apps solutions and Power Automate flows.
Select ‘New AI model’ to get started.
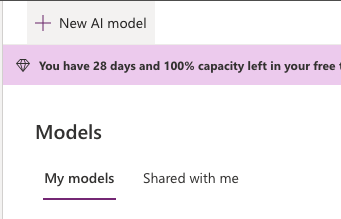
Loads of models!
Here you’ll now see loads of different AI models, some which are just ready to use, and others which are custom models that need to be trained using your own data and examples. We’re going to take a look at how we can train a custom document processing model so that we’re sure it will work best with our common template of document.
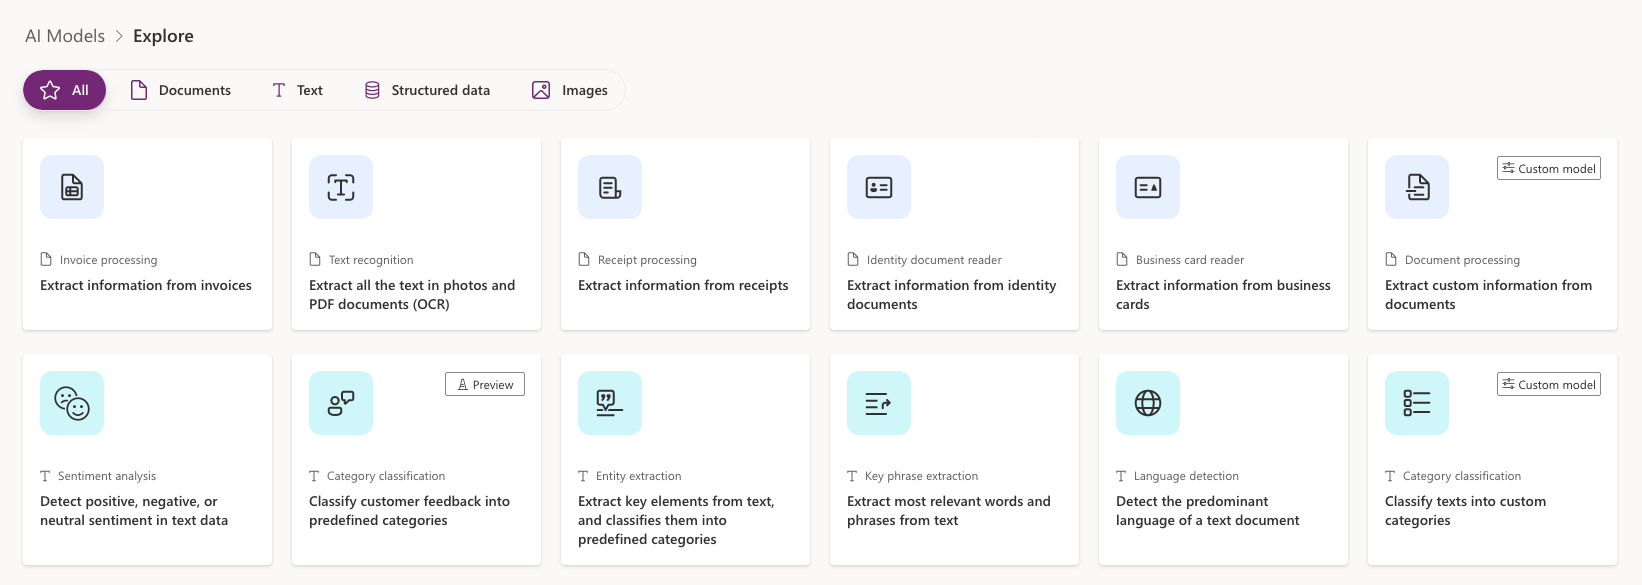
Select the custom model titled ‘Extract custom information from documents’ and we’ll get to work with providing this custom models with data examples and we’ll start tagging some documents to train it with!
Training the model
So, we now have a number of things we need to take a look at to train our model.
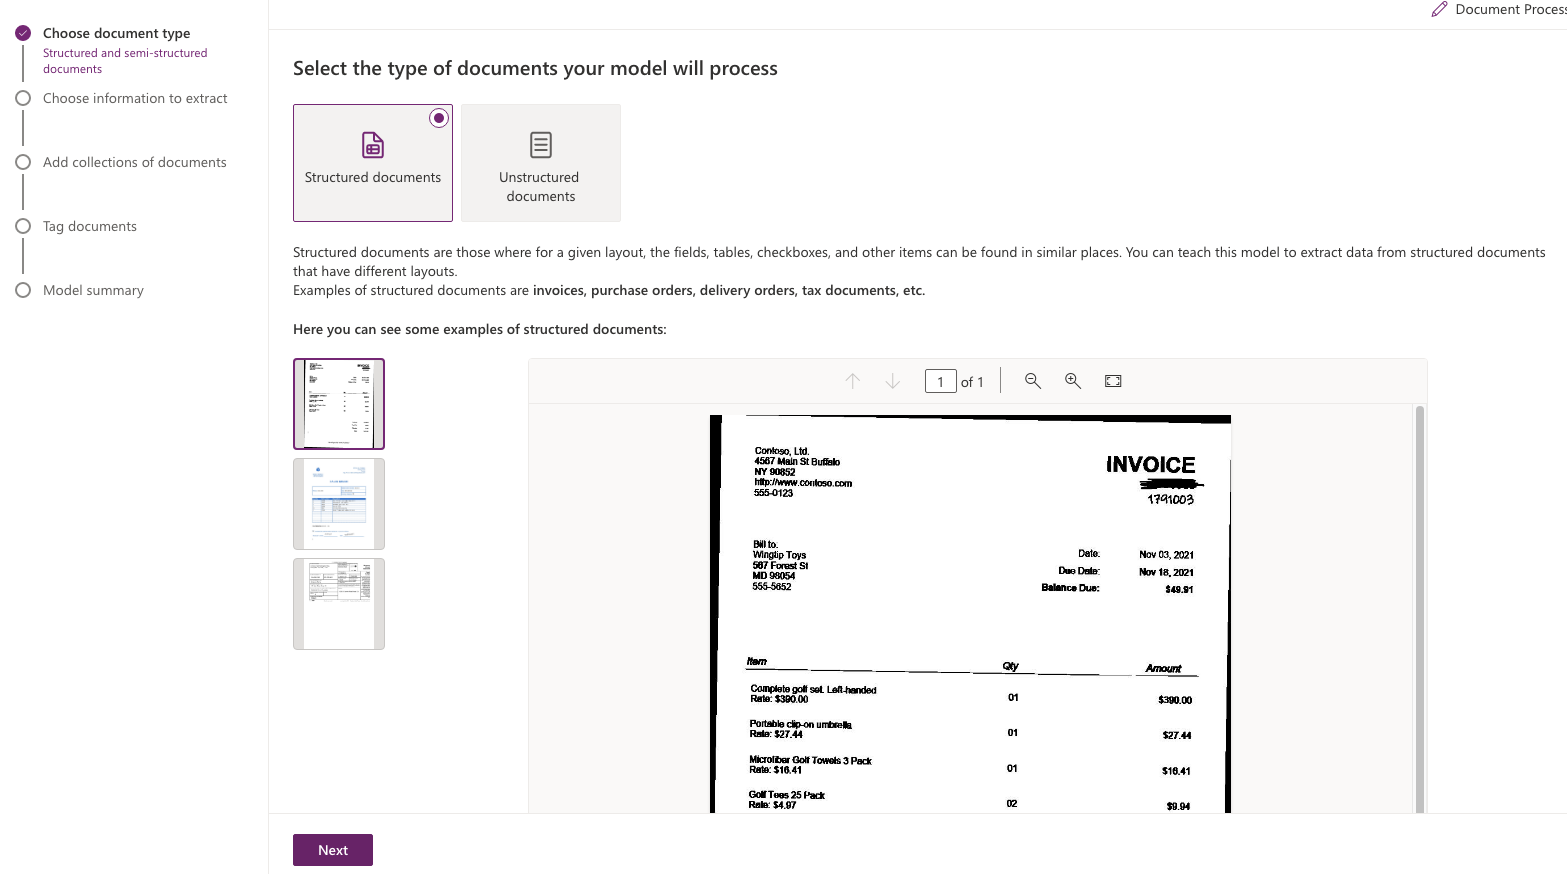
The first thing we need to determine is whether we’re using structured documents or unstructured documents. I’m going to focus on structured documents here which are the kind with commonly placed values, tables in similar places, addresses in similar places etc
I’m going to select structured documents and then select next.
Choosing information to extract
The next thing we need to do is provide the model with the fields and pieces of information we want to extract from our documents. We’re not telling it where to find them yet, we’re just creating them, almost like creating a data model/schema.
So I’m going to add the fields I’ve got on some quotes I’ve generated as PDF’s using Dynamics 365 Sales.
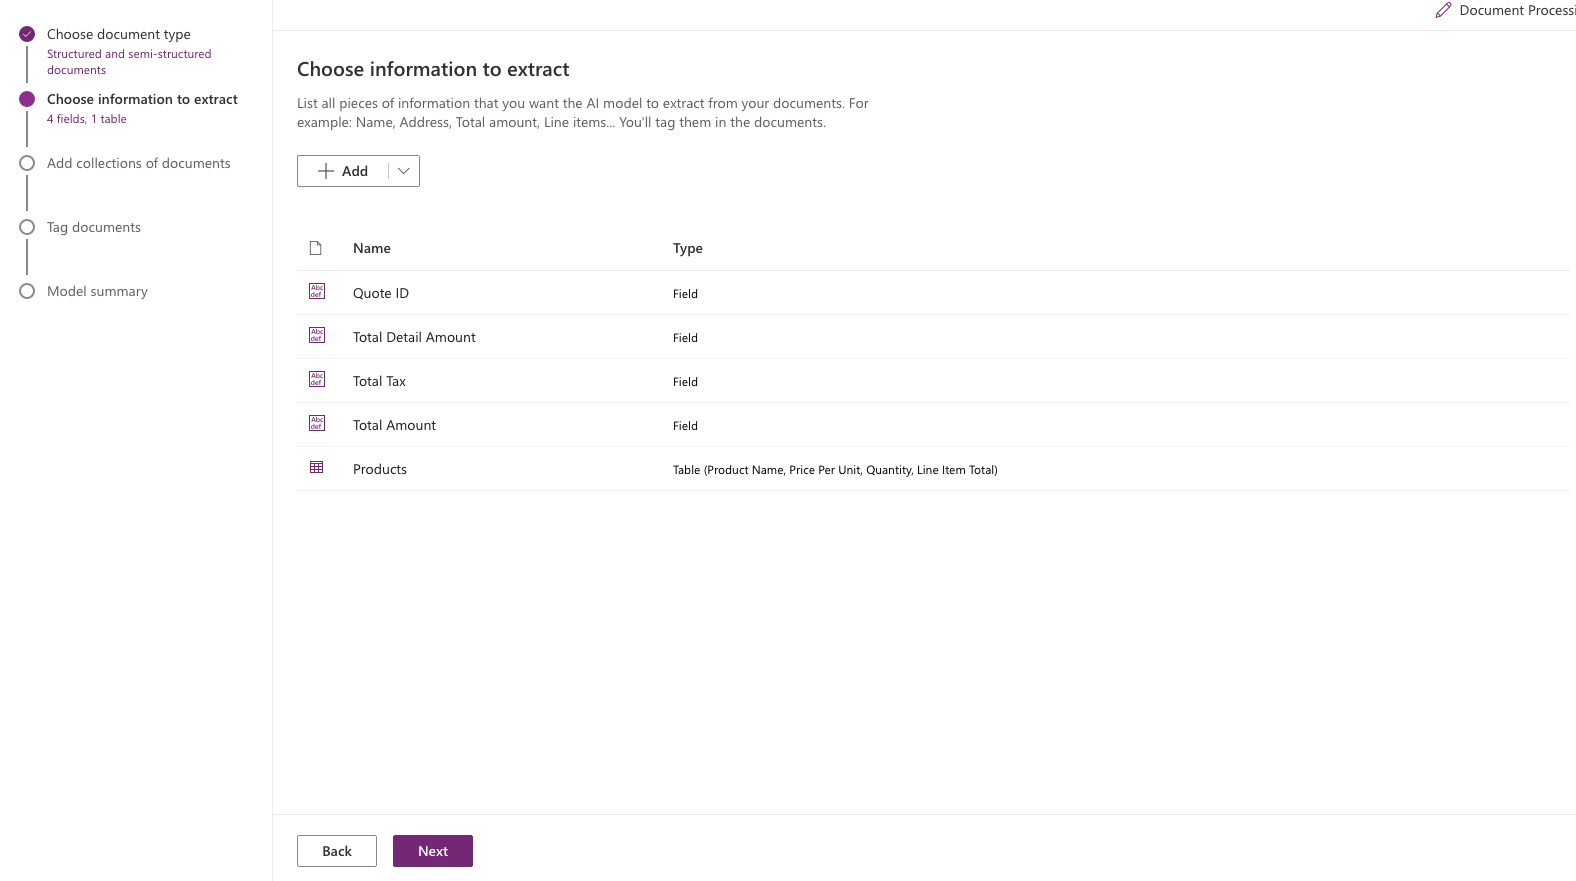
I’ve added 4 text fields, and I’ve constructed a table which will be commonly found in my quotes.
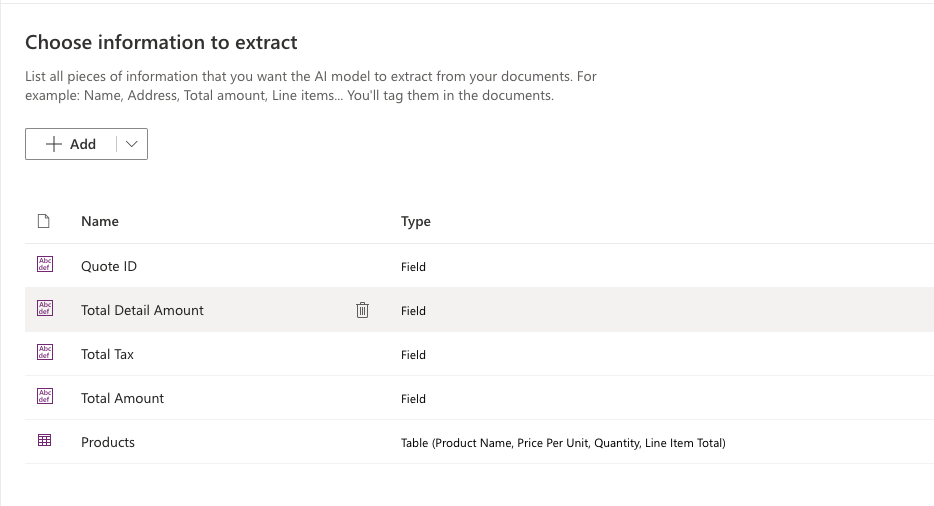
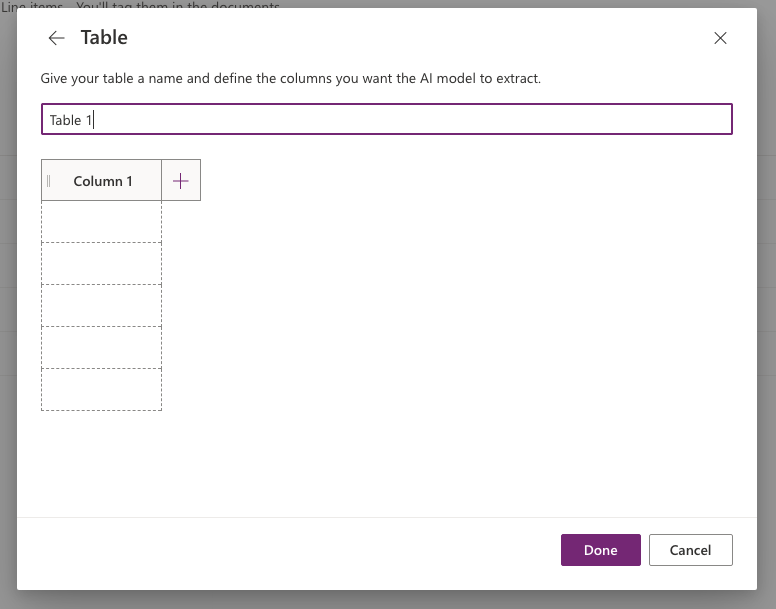
To create a table which will be commonly found in your quotes, simply select add and then table and construct your table adding columns and changing their display names.
Now that we’ve added the fields we want to extract, we can go ahead and click ‘next’.
Creating document collections
So, the next thing we need to do is tag common documents that we’ll be passing through our model with the areas where the model can find the values we want to extract. We have an option here to create collections. We’ll need to create collections for each of the common templates we’re planning to pass through our AI model. So for every quote that looks like one template, lets train the model with 5 of those quotes in a collection, and for a slightly different looking quote, we’ll need to train the model with another 5 of those slightly different looking quotes in a separate collection.
Start by creating a new collection for a batch of similar looking documents or documents that follow the same template. Then lets add 5 of those common documents to this template.
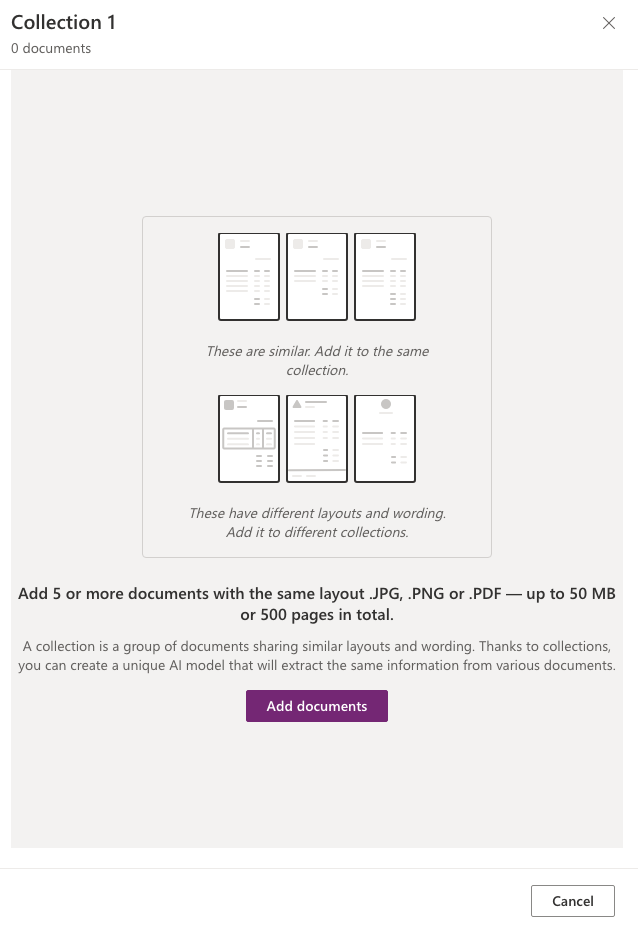
Go ahead and upload your documents then once you’ve got at least one collection with at least 5 documents you can start to tag those documents and then train your model. I would recommend using a lot more than 5 documents to train the model more. Click next.
Tagging documents
The next steps AI Builder will take us through is tagging all of the documents in each of the collections we’ve created. I’m very simply going to highlight by clicking and dragging over the values I want to extract from my document, then I’ll tag them with the field that they are.

For tables, highlight the whole table then mark where horizontal rows are by selecting their separating lines, then hold CTRL+ click for the columns or CMD+click on MacOS.

Repeat this process tagging fields and headers on tables for all of your documents in your collection, then select next.
Finally once you’ve completed all the steps select ‘train’.

The model will now train and once finished you can hit the publish button and use it in your apps and flows! You could for example use this in a flow where the dynamic content afterwards would be all of the individual fields extracted from your document passed into the model.

Hopefully this post helped you to get started with producing a document processing custom model in AI Builder within Power Platform. If you get stuck with anything or need further help, let me know.

