In this post we’ll take a look at how you can use the map control in canvas apps or custom pages to plan routes between locations, right in a low code application!
If you like this content, be sure to subscribe to my blog to get my posts straight in your inbox on all things Power Platform and Low Code.
SubscribeSome configuration first
Now to use the controls we’re going to use, we need to do some configuration first. The two controls I want to be able to use are the address input control and the map control (display). These controls are both premium and are powered by Azure Maps. But… to use them, we need to do some configuration first.
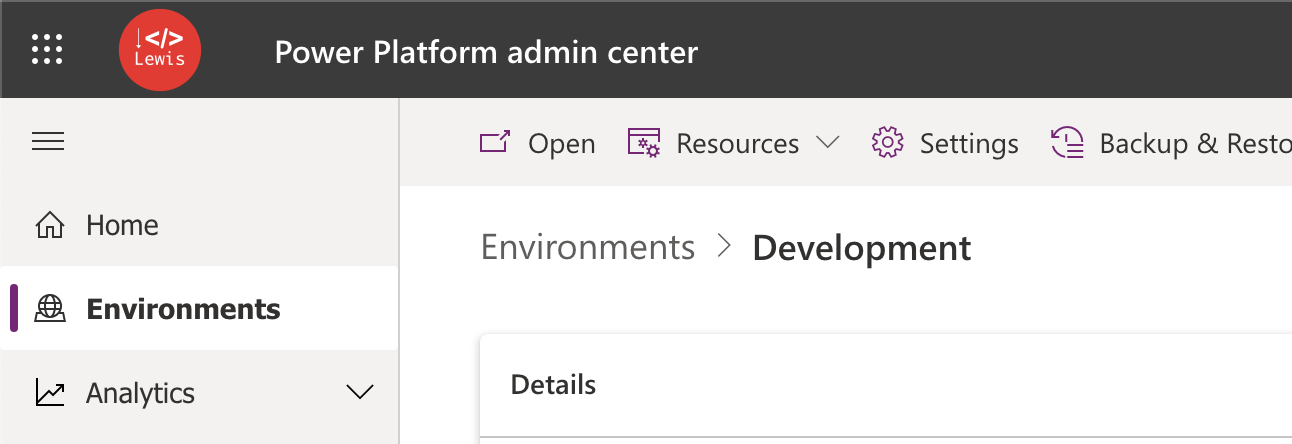
First, to be able to use the address input control, we’ll need to enable a feature in the Power Platform admin center for the environment we’re working in.

Locate your environment in the Power Platform admin center. You’ll need to be a system administrator in the environment to make changes or a tenant administrator with one of the following AAD roles assigned:
- Power Platform Admin
- Dynamics 365 Admin
- Global Administrator
In the admin center, once you’ve selected your environment, select Settings.
Then search for Map and address services.

Now under Map and address services, ensure that both limited and full options are enabled.

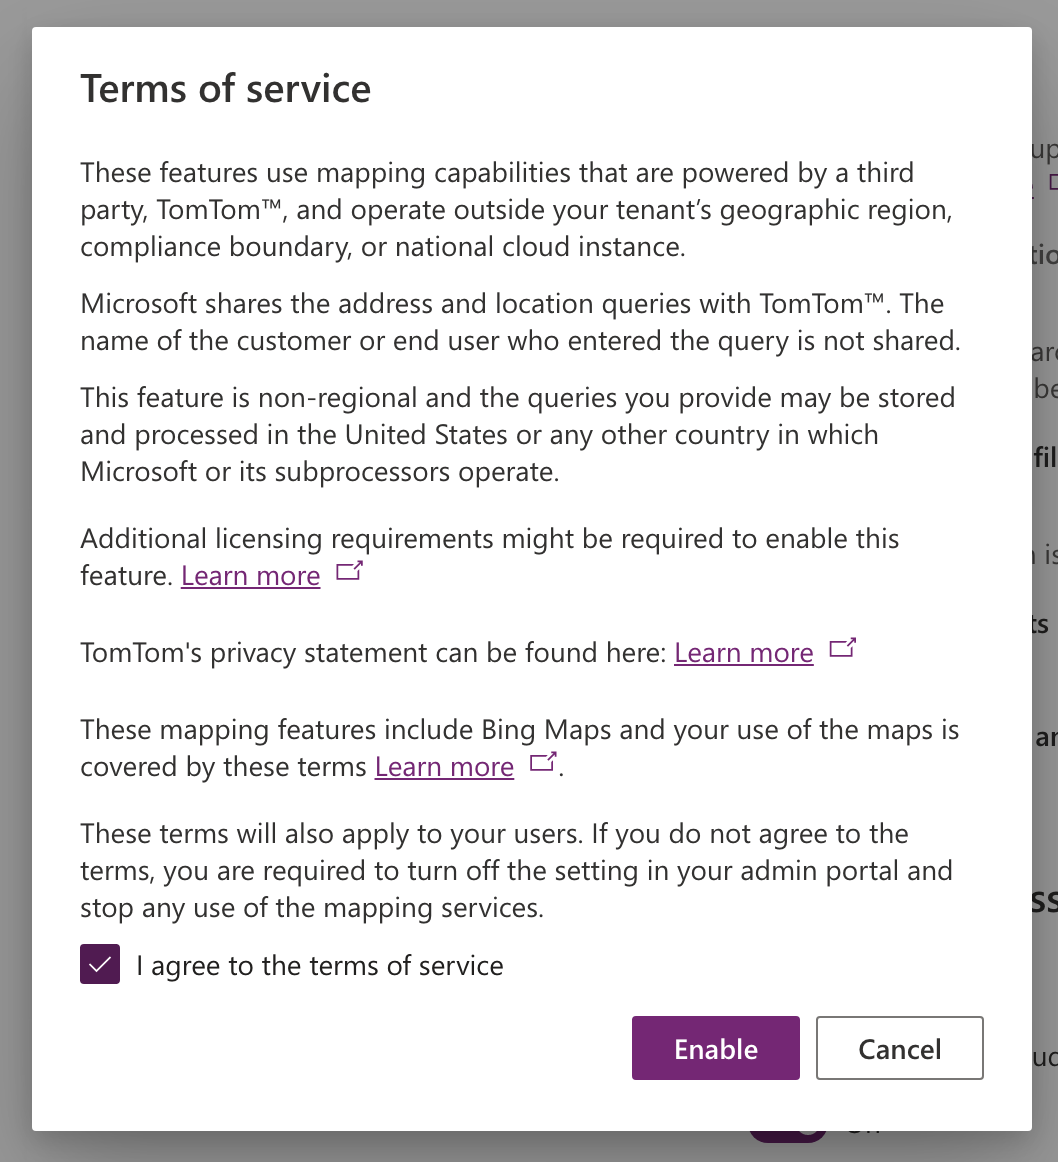
You’ll be required to accept the terms of service this third-party service provides using the dialogue. Select enable to continue and enable the feature.

Once you’ve done that scroll down to the bottom of the page and select save to save your changes to the features you’ve adjusted. Great! Now we’ll be able to use the address input and map controls.
The scenario
So I want to be able to input a number of waypoints to my app and it tell me the route between them and how long it will take to get between them. This is what we’re going to achieve now with Power Apps.
Keep in mind the controls we’re using are premium so you’ll need a premium license to run these apps in a sandbox or production environment. You’ll be able to run them in a developer environment without a premium license but this shouldn’t be used for production purposes.
Displaying a route on the map
First we’ll try to achieve displaying a route on the map with a map control, and two address input controls for the starting point and destination. This is similar to how we’d input a starting point and destination into Google Maps or a similar platform to find a route to somewhere!
I’ve added my two address input controls to my screen and my map:

The way the map expects a route is as a table with two records in the Route waypoints property. To achieve this we will construct a table of two records almost in a hard coded sense but we will then use dynamic field values referencing our starting point and destination address input controls.
Bearing in mind I’ve called my starting point address input control ‘add_StartingPoint’ and I’ve called my destination address input control ‘add_Destination’, I’m going to use this formula in the route waypoints property of my map.
Table(
    {
        Name: add_StartingPoint.UserInput,
        Latitude: add_StartingPoint.SelectedLatitude,
        Longitude: add_StartingPoint.SelectedLongitude
    },
    {
        Name: add_Destination.UserInput,
        Latitude: add_Destination.SelectedLatitude,
        Longitude: add_Destination.SelectedLongitude
    }
)
Note an alternative approach to display waypoints on a map without this type of routing would be to use the Locations(Items) property of the map, but we want to display a route so we will use this method for now.
In the RouteWaypointsLatitudes property of the map use the following string
"Latitude"Then in the RouteWaypointsLongitudes property of the map use the following string
"Longitude"Then by inputting a starting point and destination to my app I will see the route displayed on the map.

Display the duration of travel
To display the duration of travel on the screen we’re going to use the following formula in a text label. This will first take the seconds it takes to get from the starting point to the destination and it will then convert those seconds into minutes and hours.
Credit to April Dunnam for her blog post on Power Apps Timer Output Formatting which taught me how to make this conversion.
We will do something almost identical to April’s method above but we won’t round the timer value and instead we will use our seconds value directly. We don’t need to get to seconds, we already have that value.
We will use the following formula to display the duration of travel in hours minutes and seconds. You can replace ‘Map1’ in the formula with the name of your map control to make this work.
With(
    {
        seconds: (Map1.RouteDirection.TravelTimeInSeconds)
    },
    With(
        {
            minutes: RoundDown(seconds / 60,0),
            secondsRemaining: Mod(
                seconds,
                60
            )
        },
        With(
            {hours: RoundDown(minutes / 60,0)},
            hours & " hour(s) " & minutes & " minute(s) " & secondsRemaining & " second(s)"
        )
    )
)
Now I have my duration displayed on my screen

Display the travel distance in miles
Now we will work on displaying the travel distance in miles. The map control will return the travel distance in meters. So we will need to convert to kilometers first and then divide by 1.609344 to get to miles. Note this will return an approximate result.

We will use the following formula.
With(
     {
        locDistance: Map1.RouteDirection.LengthInMeters
    },
    If(
        locDistance>1000000, Text(locDistance/1000/1.609344, "#,##0")&" miles",
        locDistance>0, Text(locDistance/1000/1.609344, "#,##0.0")&" miles",
        Text(locDistance, "0")&" m"
    )
)
Now we will see the distance in miles displayed on the screen.

Save locations to a data source
Finally we will work on attempting to save the locations we’ve previously mapped by patching them to a datasource.
I’ve created a table in Dataverse called Routes and I’ve simply added two text columns for Starting Point and Destination. I’m then going to use the following formula to patch towards that table and save my record.
Patch(
    Routes,
    Defaults(Routes),
    {
        'Starting Point': add_StartingPoint,
        Destination: add_StartingPoint
    }
);
As a result of saving your routes to a table you could further build out your app using basics in Power Apps with galleries and other controls to reuse previous routes. If you’re unsure of how to do this, let me know in the comments below and I’ll consider writing a part 2 to this topic.

