In this post we’ll take a look at how you can import JavaScript libraries for use in your functions and JavaScript file on a Power Pages website page.
Removing the file extension
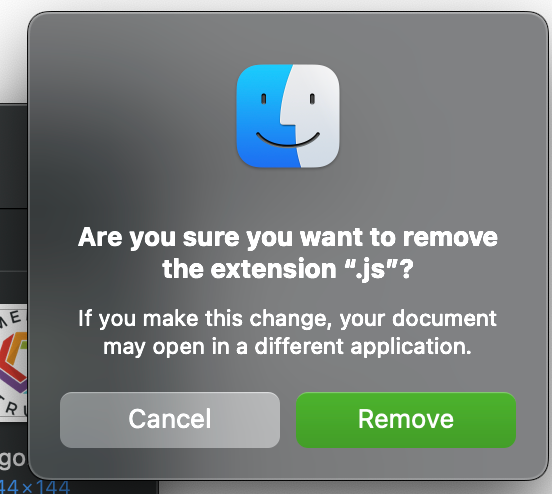
So first, taking your JavaScript file, in your file explorer or Finder, remove the file extension and convert the document to type Document. This should leave us without an extension on the end of the file name such as .js

Uploading the file as a web file
So now we need to upload the file to Power Pages as a web file in the Portal Management App. We will do this under the page we want to use the library in. So navigate to your website first then under the child page you want to use your library in select the child files tab.
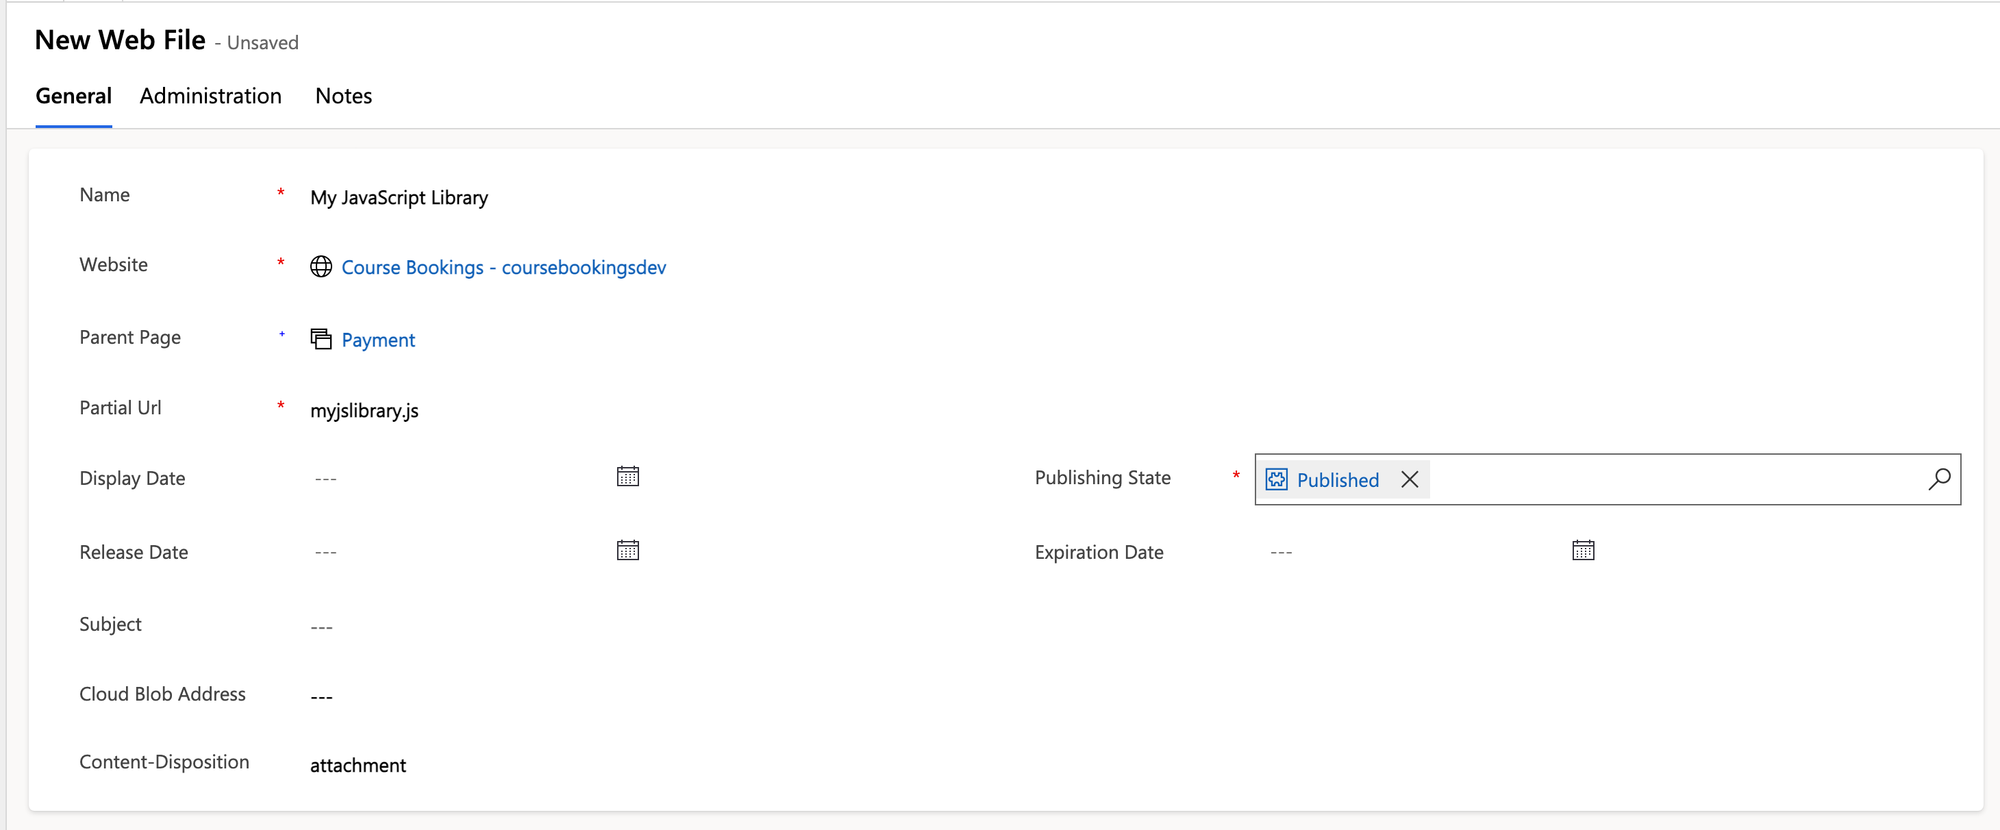
Then select new file and we can create our web file record. Make sure you set the content-disposition as attachment, the publishing state to published and then for the partial url give your library a name finishing in .js without spaces.

Now save the record and select the notes tab. Here add an attachment to the timeline which should be your JavaScript library file without the file extension.
Save the record again.
Referencing the file to run the script on the page
So now, we’ll go back to Power Pages and edit the code for the page we just uploaded the file for. Now to run that script all we need to do is use the following line in our HTML file.
<script type="text/javascript" src="~/Page/webFilePartialUrl"></script>
In the above line you’ll need to replace ‘Page’ with the name of your page in your URL. Then you’ll need to replace webFilePartialUrl with the partial url you inputted on your web file.
And thats it! Now you can use imported JavaScript libraries in your Power Pages websites 🙂

