In this blog post, we’ll take a look at a new feature of Managed Environments in the Power Platform, being Power Platform Pipelines. We’ll take a look at how to configure these after installing the solution in an admin environment.
Deploy the pipelines application in your admin environment
So first we need to deploy the solution which provides the application that lets us use and configure Power Platform Pipelines. Start by signing into the Power Platform admin center at admin.powerplatform.microsoft.com.
Then navigate to the environment you want to install the solution in. This environment should be an admin type environment that you don’t use for the development of solutions or the production running of solutions.
Now select Dynamics 365 Apps under resources.
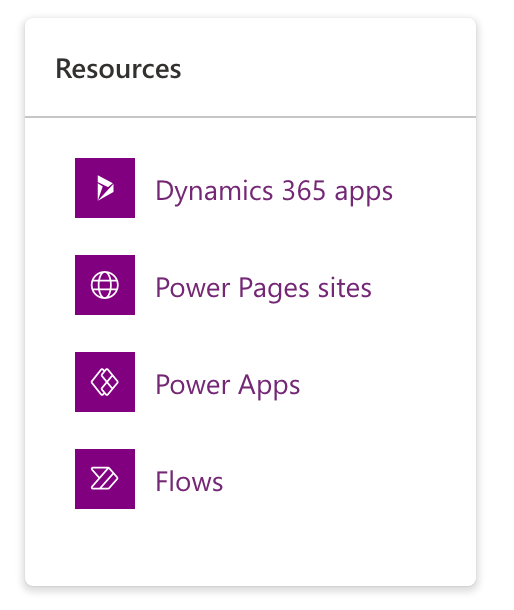
Finally select install app, look for Power Platform Pipelines and install the solution.
Once this is done and fully installed we can start to build our deployment pipelines.
Configure environments to work with
The next thing we need to do is add the environments that we want to use in pipelines to our pipelines configuration app. In the environment that you installed the Power Platform Pipelines Dynamics 365 app in, open the Deployment Pipeline Configuration application.
Then under environments create records for all the environments you’re going to use in your pipelines. This will include your development, QA/Test and production type environments for example.
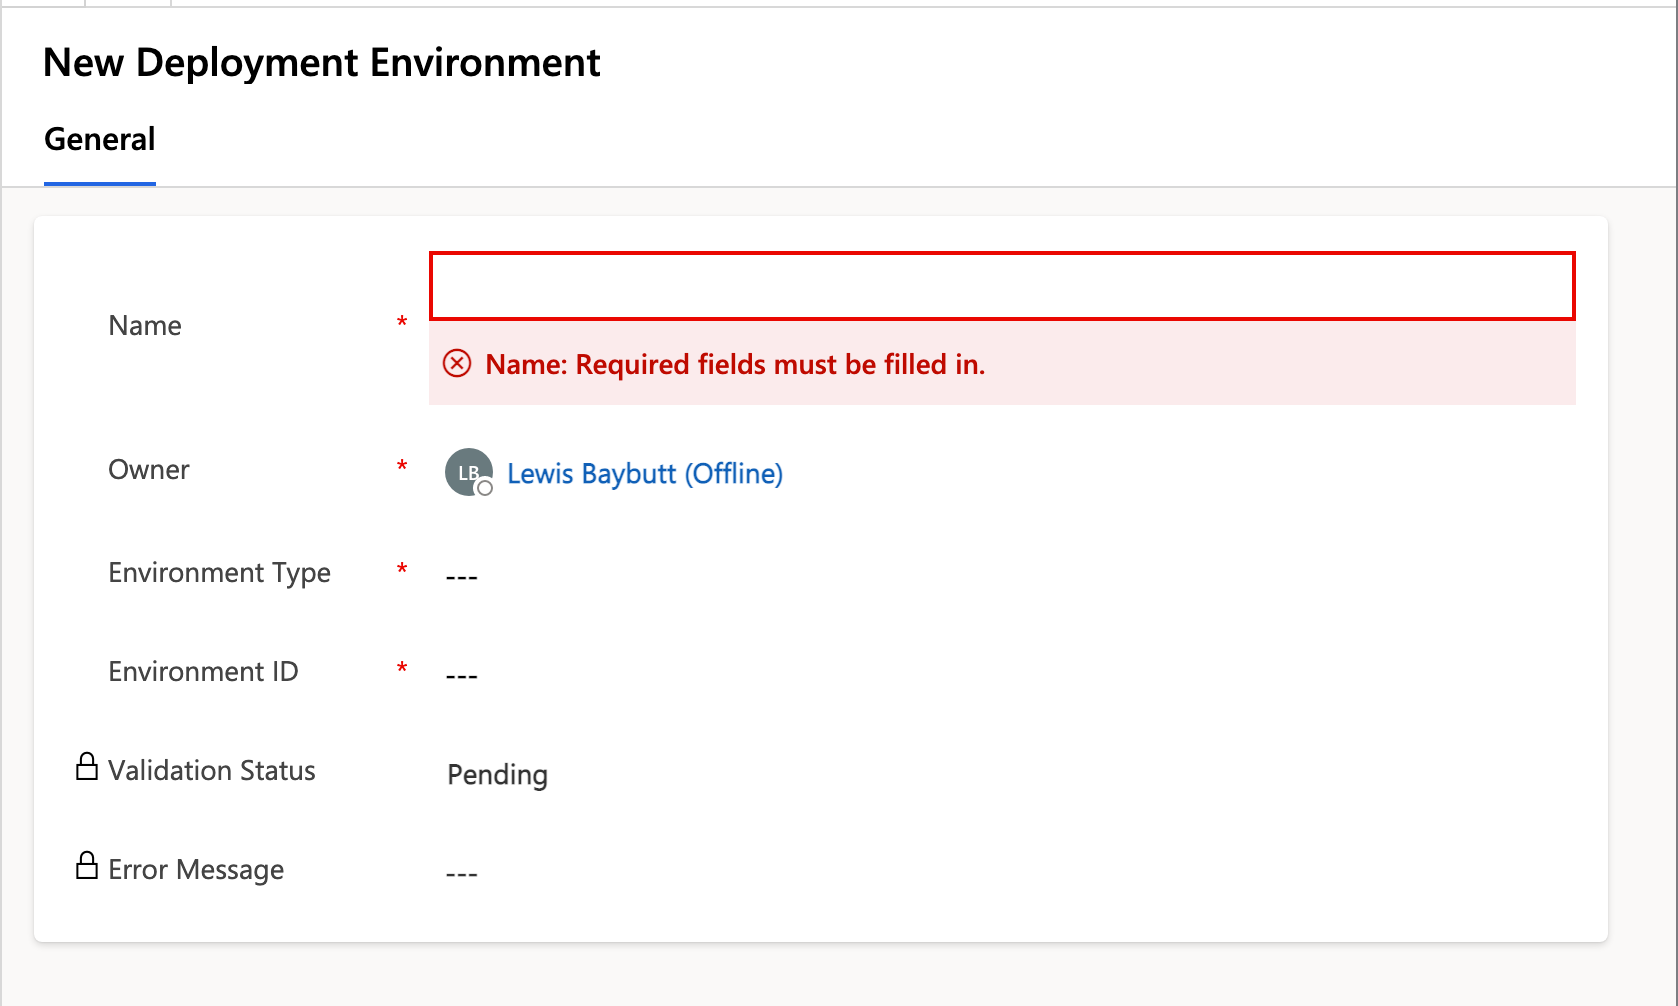
Give your record the same name as your environment for ease of understanding, then for the development environment select this as the type and then in the environment ID field paste in the GUID of your environment which you can get from the URL at make.powerapps.com when you have that environment currently open.
Then repeat this process for your test and production environments except changing the environment type to target environment.
Configuring a pipeline
Now to configure a pipeline, head to the pipelines table and create a record giving it a name and description. You’ll need to save it before you can add the development stage and deployment stages.
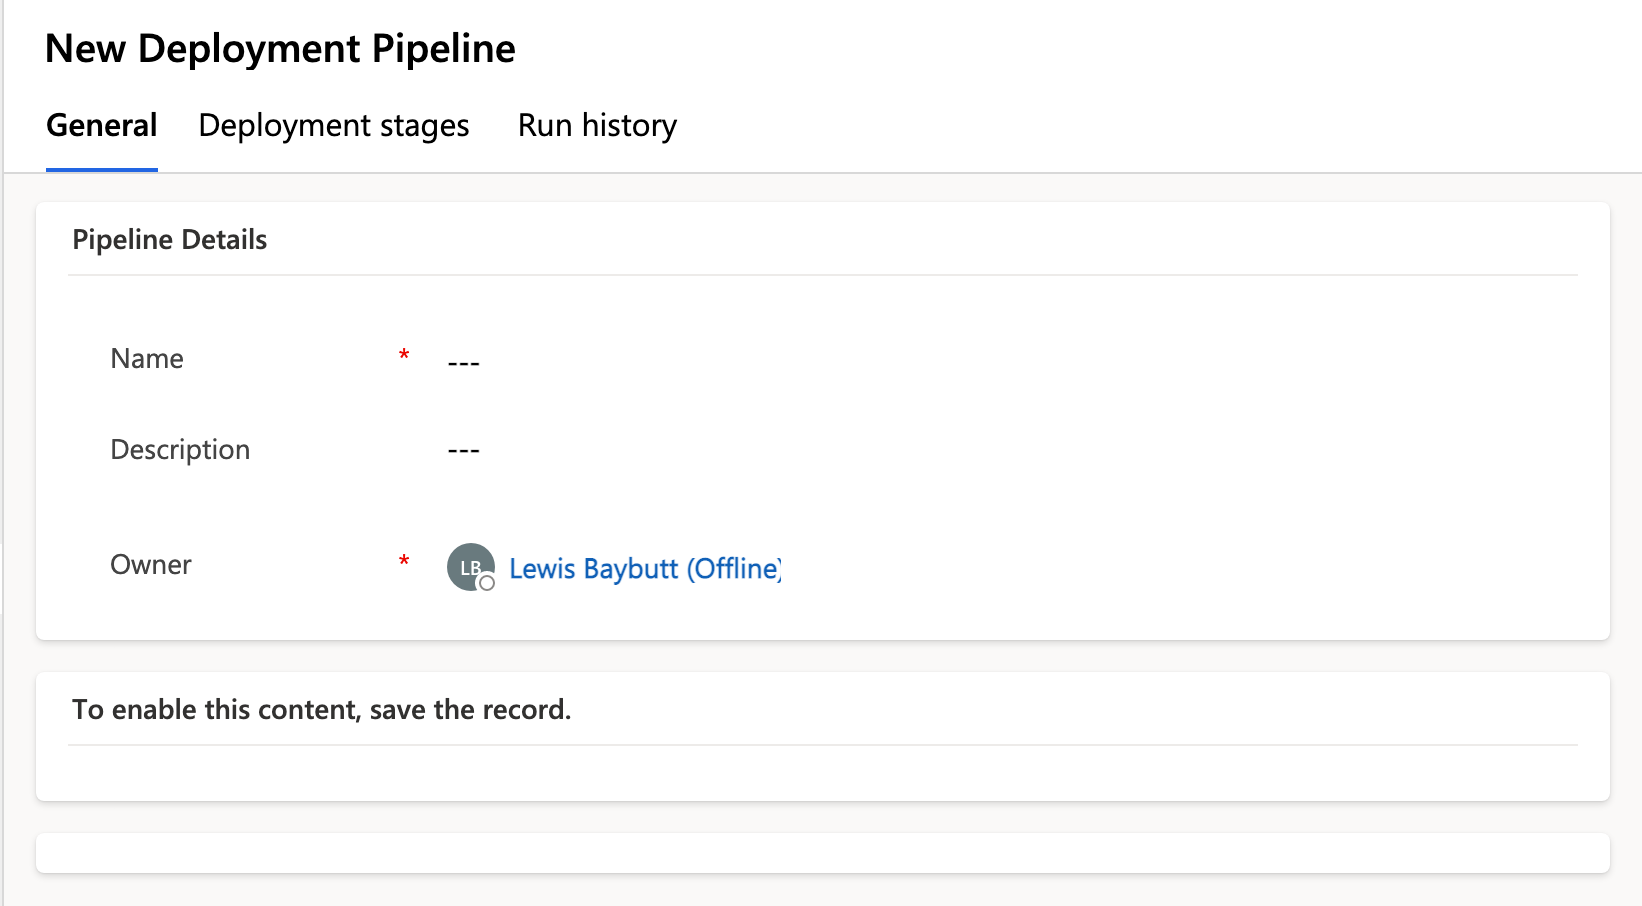
Once saved, use the subgrid to add the existing development environment you created to the pipeline.
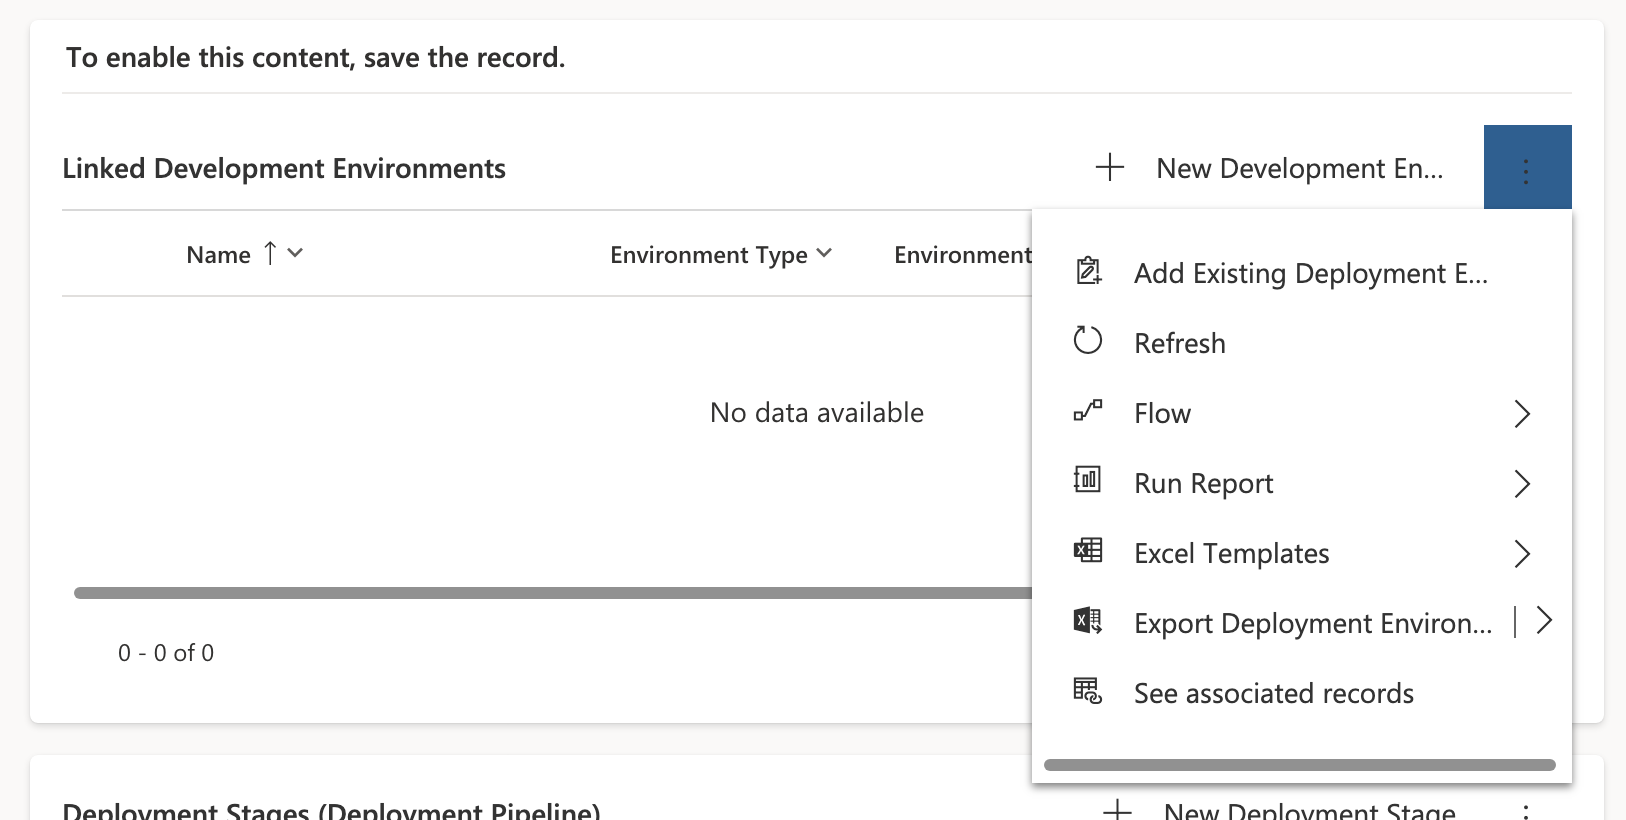
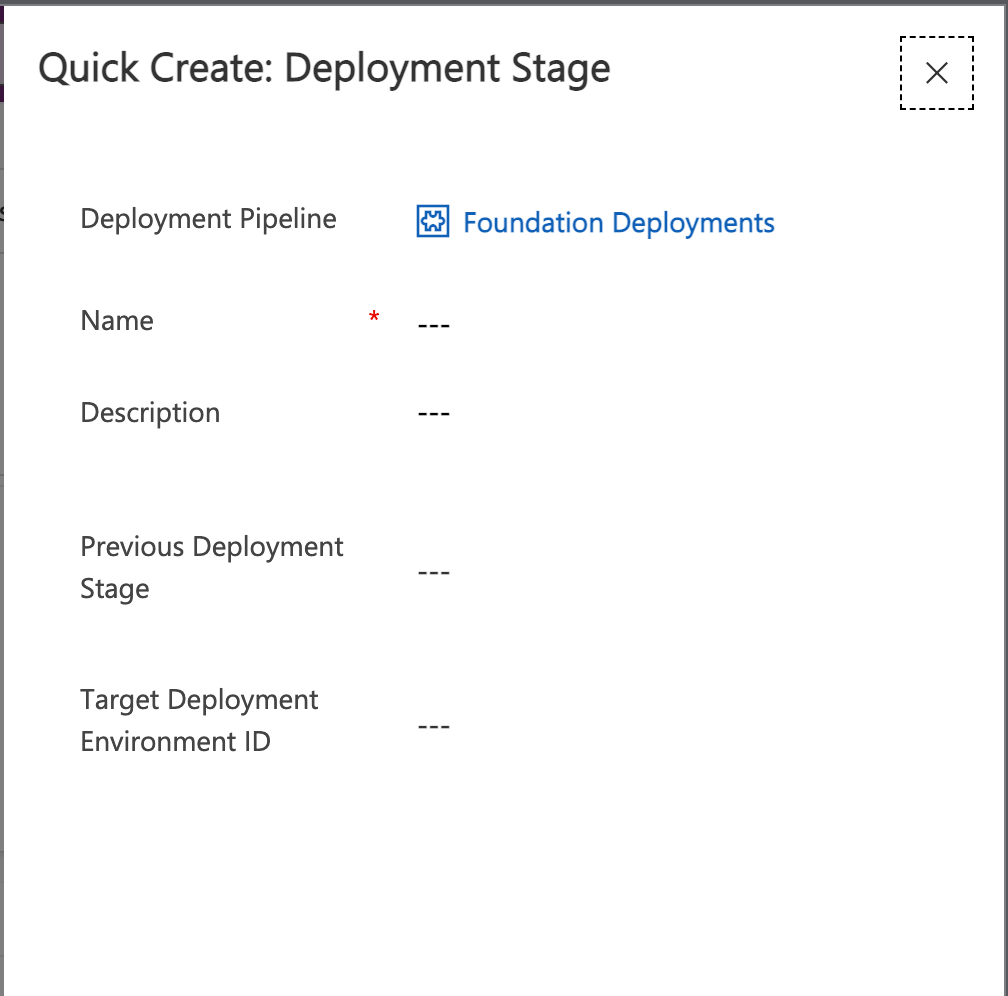
Then in the deployment stages subgrid, add a new record for each stage in the pipeline you want to add which is a deployment from one environment to the next. Give it a name and description.
Then for the previous deployment stage, which you can optionally fill, this is where you can specify a previous stage that must have been completed prior to deploying to the current stage you’re creating. This is optional though.
Finally in the target deployment environment ID input add the environment you want to deploy to in this stage.
Now finally head back to the solution in make.powerapps.com and select pipelines. Now you’ll see you have the option of the pipeline you created and you can run deployments to the environments you have configured in the pipeline.

Now you can select deploy here to deploy your solution to the environment you’ve selected deploy within! Its that simple!
If connection references or environment variables need manual intervention on a first deployment or something like that, you’ll be prompted for these.
For more info on providing access to pipelines to other users and makers, check out the information at Microsoft Learn.
Set up pipelines in Power Platform – Power Platform | Microsoft Learn

