In this blog post, we’ll take a look at how you can use JavaScript and events in model driven apps to trigger notifications to appear in forms similar to how you might see notifications on validation things and more in Dynamics 365.
setFormNotification
Let’s first take a look at the method we can use to create a notification in a model driven app form.
To create form notifications we need to use the setFormNotification method which we get from formContext.ui
setFormNotification – Syntax
Lets take a look at the syntax for this method we need to use.
formContext.ui.setFormNotification(message, level, uniqueId);setformNotification – Parameters
So now we’ve seen the syntax, lets see what each of these parameters are for…
So the first parameter we have is message, of type string where we provide the text of the notification message to appear on screen.
Next we have the level of notification where we determine the type of notification that will appear for example whether something is an error or not. We have the following values to choose from…
- Error
- Warning
- Info
Finally we have a uniqueId parameter which we can use to provide the notification with a unique identifier to later use to clear the notification using the clearFormNotification method.
Creating a function
So now we need to create a function in a JavaScript library to use with Dynamics. Let’s start by creating a function with a name and passing in executionContext as a parameter. Then we’ll use getFormContext() to store the formContext in a variable which we can then use to take advantage of the setFormNotification method.
function NotifyUserTest(executionContext) {
    let formContext = executionContext.getFormContext();
    formContext.ui.setFormNotification("This is a test notificaiton",Info,1)
}
Applying our code to Power Apps
So now we have a function. You need to make sure this is saved in a JavaScript file you might create using something like Visual Studio Code. Once you’ve done this you can go ahead and open up the form you want to apply this against in Dataverse in edit mode.
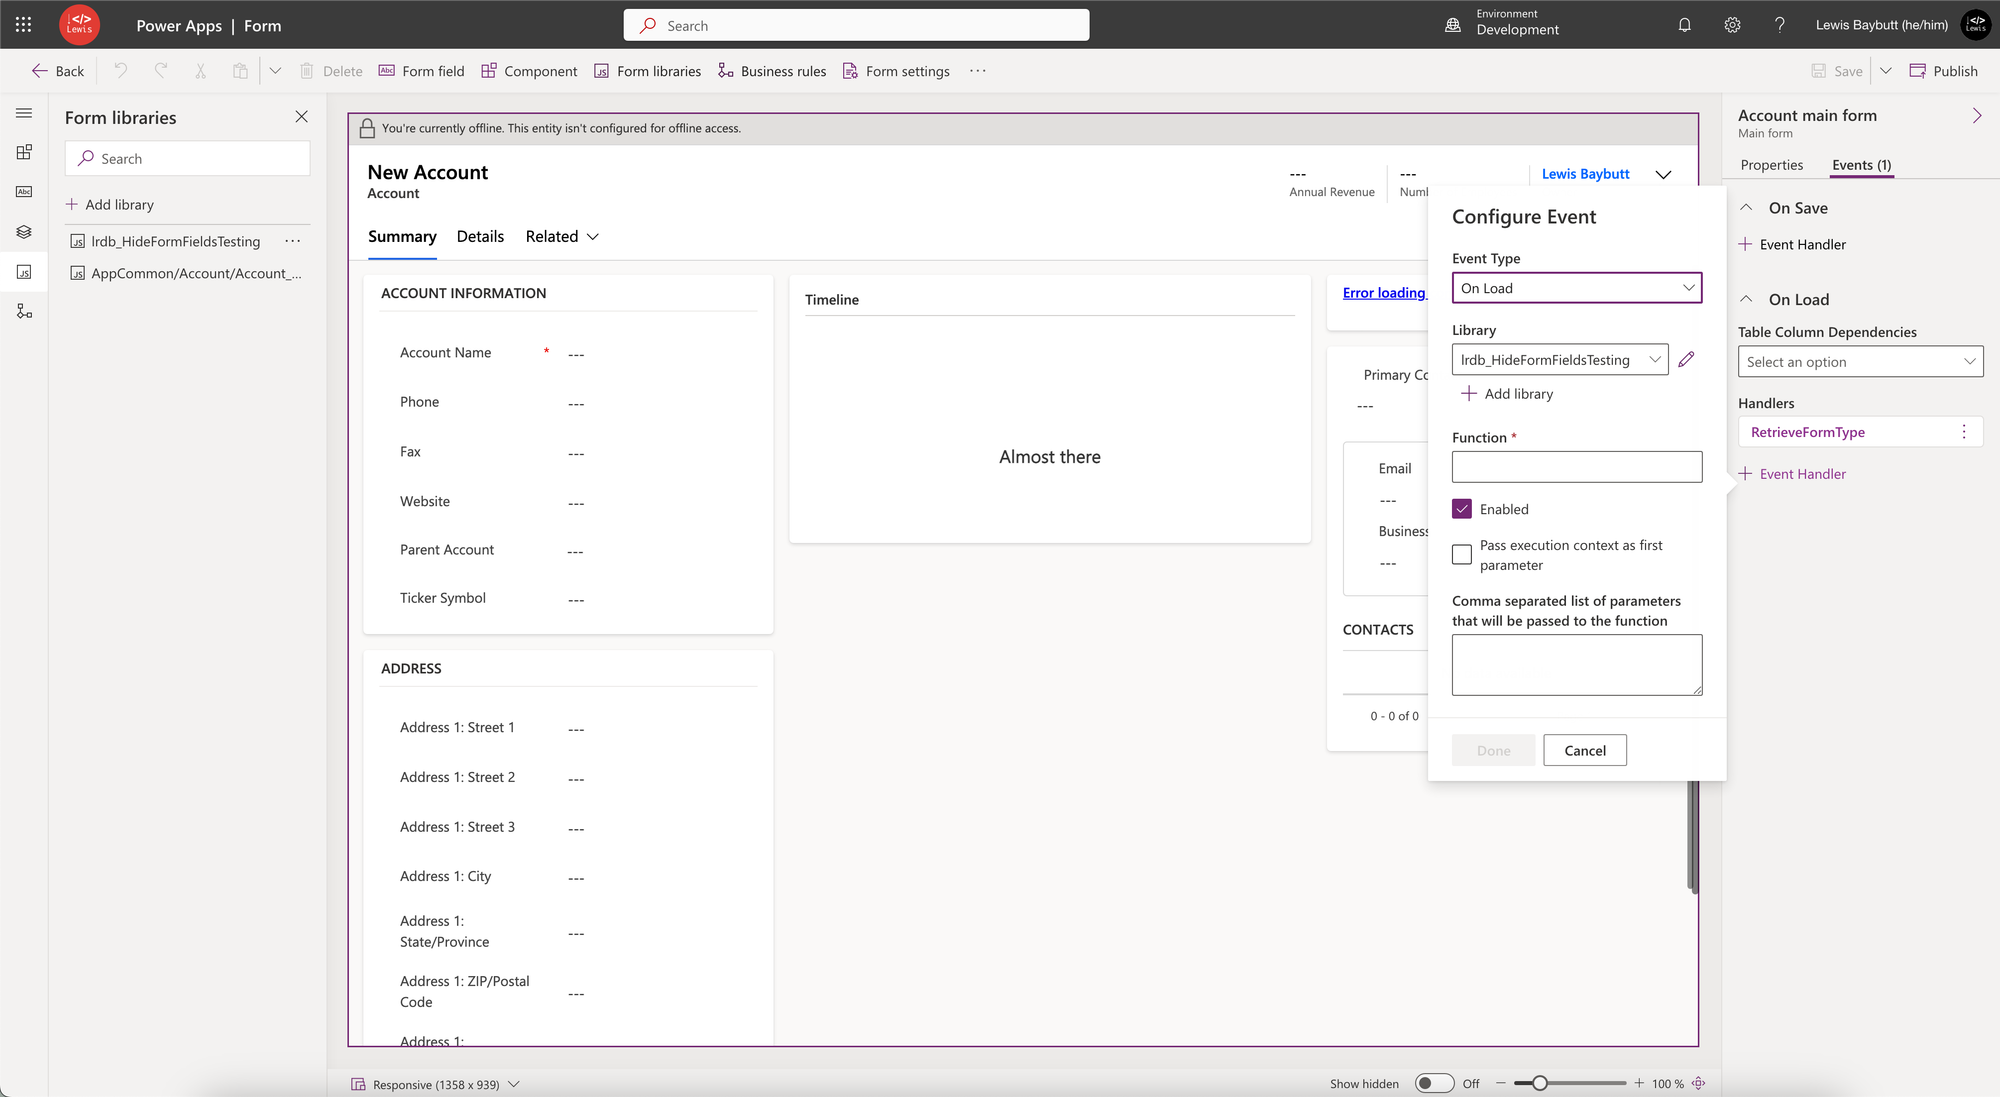
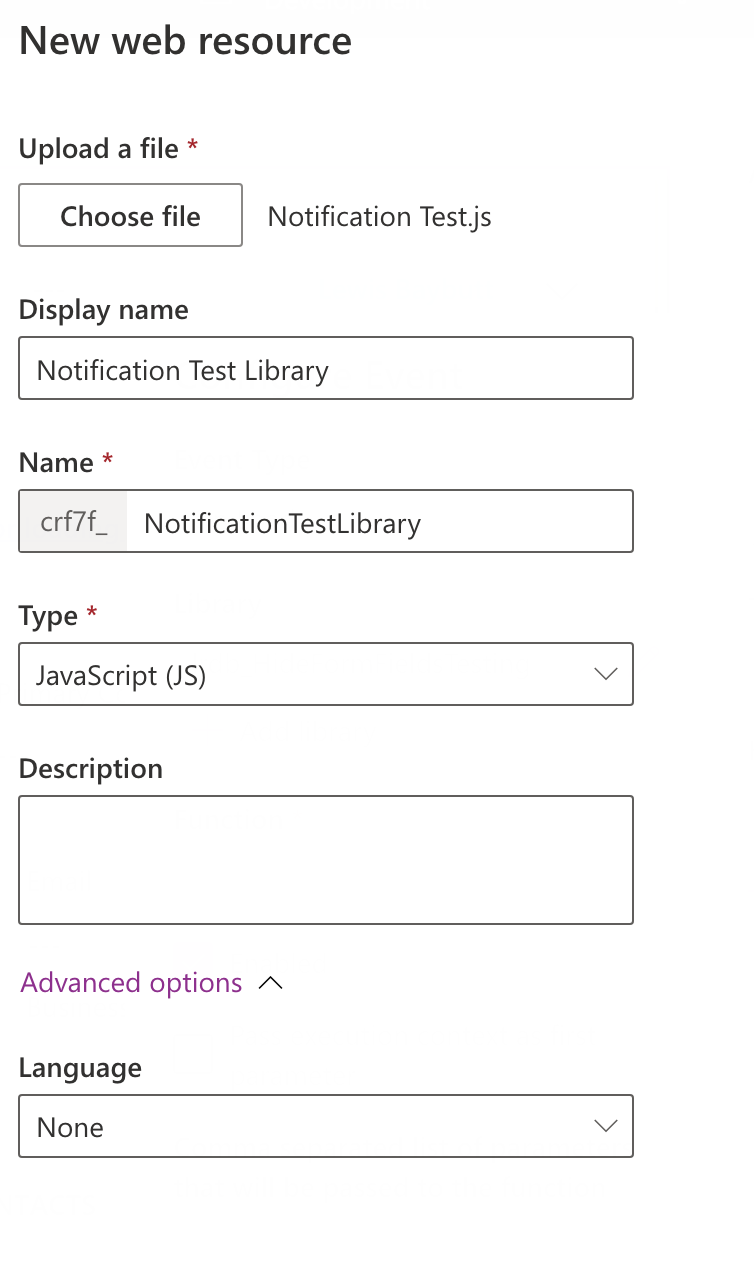
Now on our form we can select events in the right hand pane and under ‘On Load’ add an event handler. Now we need to add a new library unless you want to update en existing one that you’ve got where you’ve added your new JavaScript function. Click new library and upload your file and give your web resource a name.
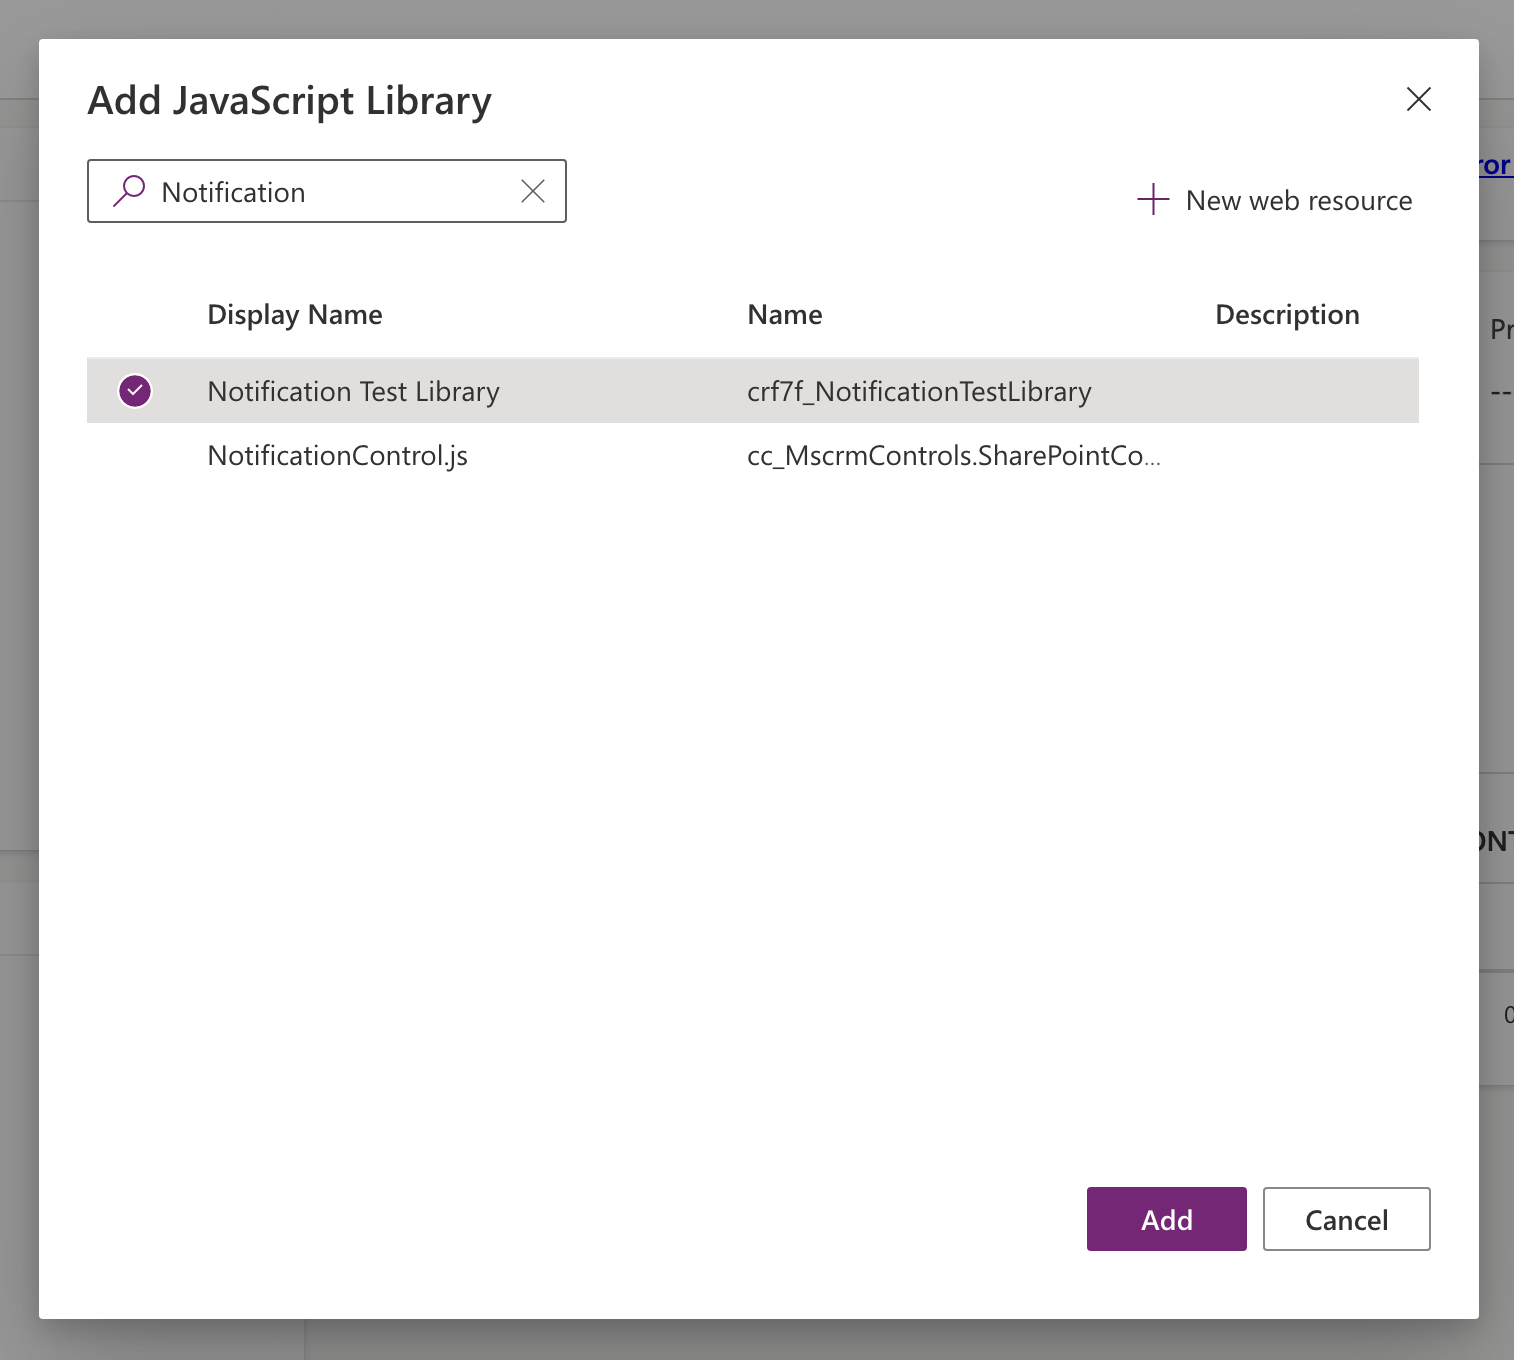
Once you’ve saved and published your web resource, select it in your new event handler.
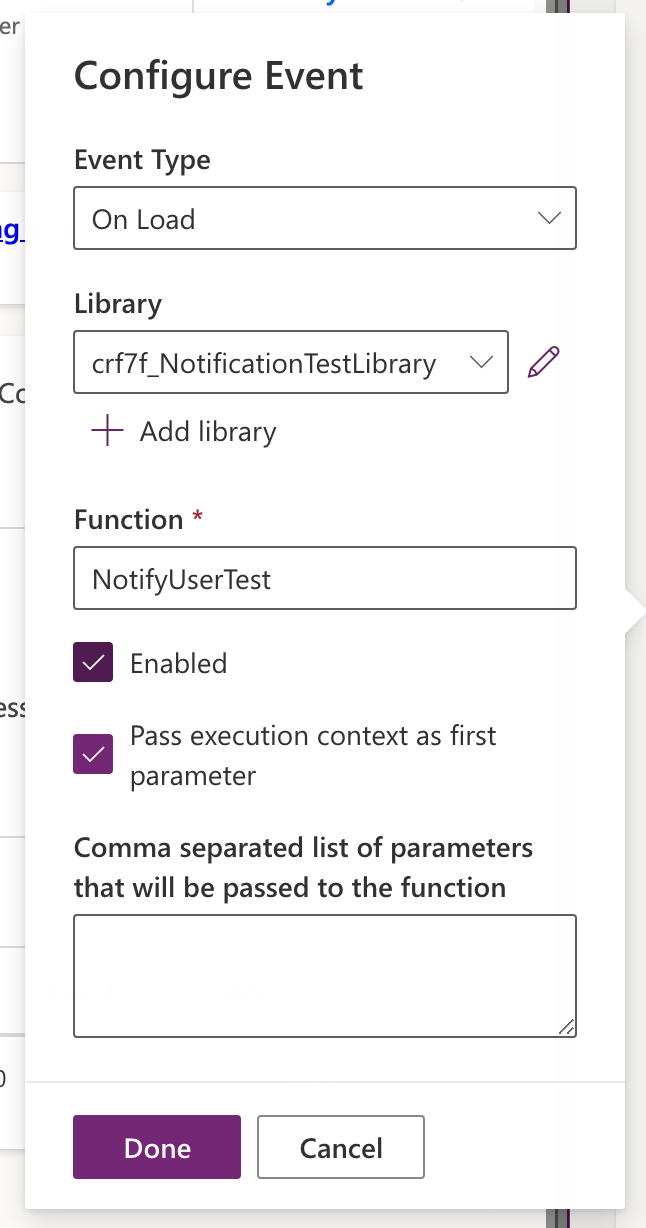
Now we need to supply our event with the function in the library/file that we actually want to run. Use the name of the function you created following the function keyword in your JavaScript file. Then ensure the checkbox for enabled and pass execution context as first parameter are both turned on and select done.
Now give your form a save and a publish and we can test things out!
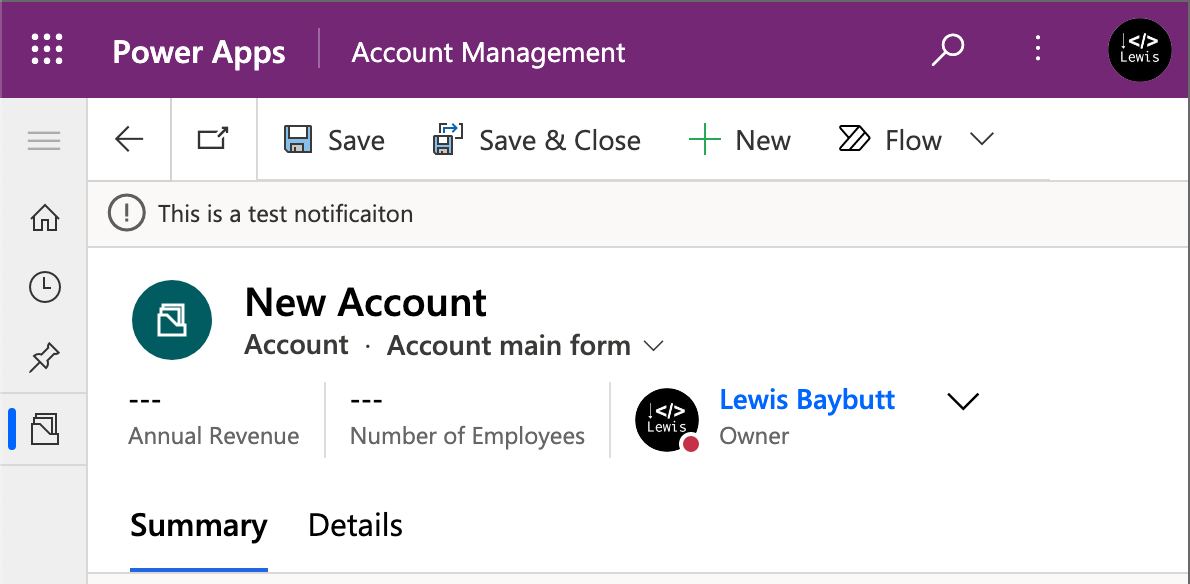
And there you have it! As you can see we now have notifications working inside our form. Now this probably isn’t the way you’d use a notification inside of a form, unless perhaps you want to remind people of something every time they create a record or something like that so you’ll probably want to perhaps use an event on a control or something like that and use if statements to pass validations and more in the actual code before making an action, but this shows you how to produce a notification and carry out that specific action! 🙂

