In this post I’ll show you how to create your own custom theme for SharePoint Online for your site designers to take advantage of in your tenant!
Designing your theme
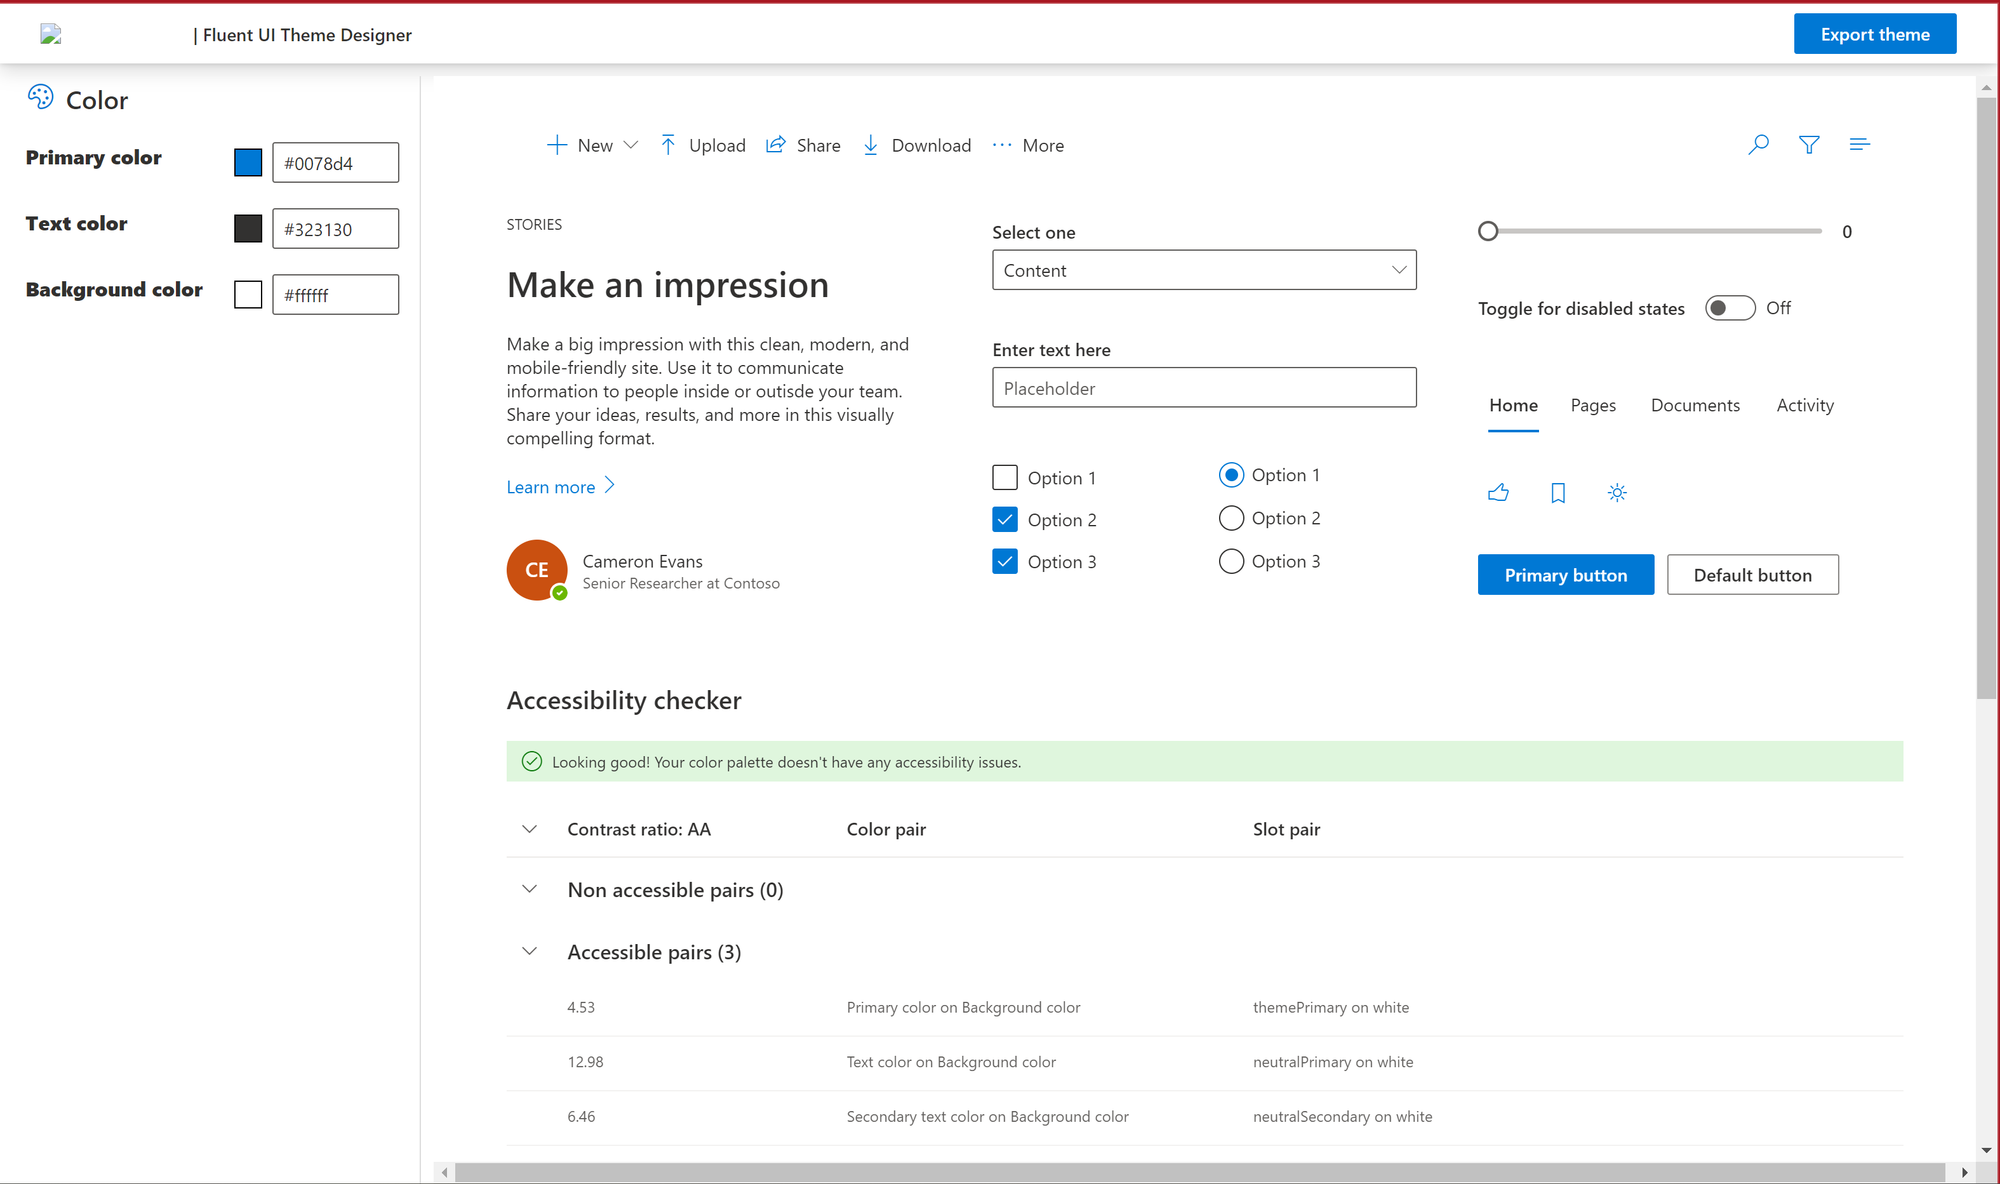
To design your theme, you can go to the Microsoft Fluent UI Theme Designer. Once you’ve set your colours and they’re looking how you want, ensure that the accessibility checker is passing and then export your theme. You’ll want to copy the export on the PowerShell tab for this guide.

Deploying our theme
Now that we have our theme from the theme designer exported ready to use in PowerShell, we can deploy this to our SharePoint Online tenant.
We first need to connect to our tenant using the SharePoint Online Management Shell. Ensure you’ve got this installed and open a PowerShell window.
Connect using:
Connect-SPOService -Url https://DOMAIN-admin.sharepoint.comYou’ll have to sign in using someone’s credentials who has the SharePoint Administrator role in Azure AD.
Now that we’ve made our connection we can start to make the commands needed to deploy our theme. First we’re going to store our theme in a variable that we can reference in the actual command. To do this use $themepalette and then follow it with the code you copied from the theme designer. Now we’ve set the variable themepalette with the theme we generated.
Now to deploy the theme you can very simply use the following command and then see it in your SharePoint tenant!
Add-SPOTheme -Identity "The name you'd like for your theme" -Palette $themepalette -IsInverted $false
